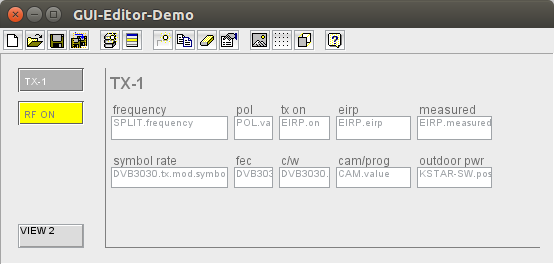
The Screen Editor window is used to layout the M&C windows used in the M&C/NMS user interface. Windows like the VLC Main window, the M&C Main window and additional user created windows are customized by means of this program.
The Screen Editor works like a simple drawing program. Each M&C window contains a number of objects ( elements ) which may be placed, sized and edited using the Screen Editor.
Object Placement
Objects contained in the window are placed by dragging them to the desired position (left mouse button). Dragging an object with the right mouse button changes it's size, or, more precisely changes the size of it's bounding rectangle (most objects are not scaled if they are resized). A double click to an object opens the Element Properties window for this object.
Tool-bar Functions
 --- Clears the window surface and starts to edit a new window.
 --- Loads a window description to edit.
 --- Saves the window actually edited.
 --- Saves the window actually edited with a different name. If you have selected a group of elements, only the selected elements are saved. This deletes all unselected elements and shrinks the panel just to fit around the selected elements! The saved screen always ist stored in the "/screens" directory. This applies even if you edited a VLC screen from within the NMS client application.
 --- Adds a new device icon for each device which has not yet an icon. This function is only available, if the program knows about the device list of the application which is edited.
 --- Adds a new object to the window. It appears in the upper left corner. You also may point with the mouse to the (empty) destination point at the drawing area and the right button context menu.
 --- Duplicates the selected object. The new object appears on top of existing one.
 --- Removes the selected object. If you have selected a group of elements, all elements in the group are removed.
 --- Opens a Element Properties window for the selected object.
 --- Defines a background image for the window. A file selection box appears, you may select any picture in GIF or JPG format as the window background. The window size automatically gets aligned to the size of the image you selected.
 --- Objects are placed along a invisible 3 x 3 pixel grid if they are moved while this button is down.
 --- Moves the selected object to the back so it does not cover any other object.
Inserting screens
You may insert complete screens into the actually edited one. Point the mouse to where you want the upper left corner of the inserted screen to be placed. Press the right mouse button and select "Insert screen" from the context menu. A file selection box appears which lets you select the screen to insert.
You also may select one of the predefined screens used by the device windows of the software for insertion. To insert such a file, change the directory to "dscreens" in the file selection box. Be aware, that the message identifiers of all parameters in these screens don't contain a device ID. The tx-on parameter of a transceiver e.g. refers to a message ID "tx.on" in a device screen, not to something like "KSTAR-1.tx.on". You have to edit all message identifiers if you insert a screen from this directory.
Group selections
The screen editor lets you select multiple elements to a set on which you can perform some useful actions. Selecting an element group works like you would expect: Spanning a rectangle by dragging the mouse with the left button held down selects all elements which are covered by this rectangle. Selecting single elements with the mouse while pressing down the CTRL key at the keyboard also adds these element to the group. Any other mouse click clears the selection.
Elements selected in this way are marked with a blue rectangle drawn around. The first element you selected is called the "reference element". It's marked with four small boxes in it's corners. If you select a group by spanning a rectangle around the elements, the element which was selected before becomes the "reference element". Below there is a list of operations you may apply to a selected group of elements:
in the tool bar. This deletes all unselected elements and shrinks the panel just to fit around the selected elements, so be careful! In most cases it will be better to make a backup of the edited screen before. in the tool bar.Remarks
tool bar button. It creates a new device icon for each device defined in the VLC/M&C system.